Overview
This video shows a quick overview of Insight Lighting Analysis: Autodesk Insight Lighting Analysis.
Open a building element model in Revit. Note that for lighting analysis studies you must use a building element Revit model. A conceptual mass model will not work. Also be sure to login to your A360 account. Lighting analysis consumes Cloud Credits, so Revit will need to be able to access your A360 account to complete the analysis.
For new projects, make sure that your location is set and a weather station is selected.
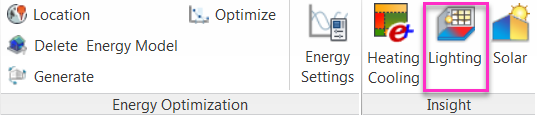
From the Analyze tab, select Lighting from within the Insight panel. The Lighting command is a separate plugin you can download from here.
The first dialog that appears provides resources and best practices for conducting a lighting analysis study. These best practices are not required, but will help you achieve more accurate results. Select Continue.
Next, you will have the option to run a new analysis type or recall previously saved results. Select Run New Analysis and then Go.
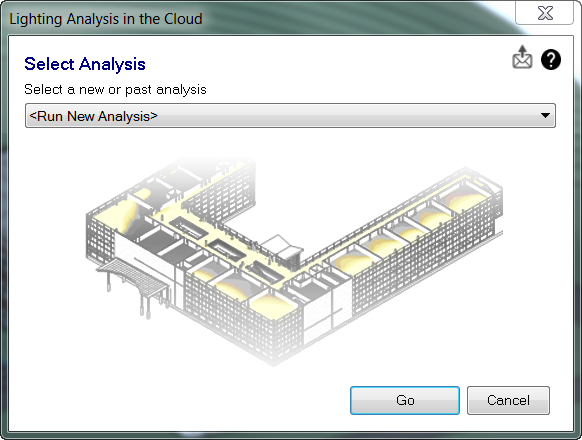
The Lighting Analysis in the Cloud dialog box will allow you to control your study settings.
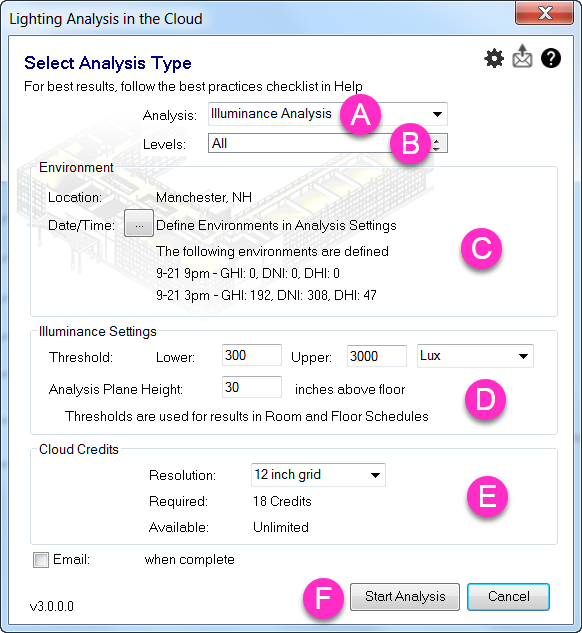
A. Analysis allows you to select between different study types including:
| Analysis Type | Description |
|---|---|
| Illuminance Analysis | Full custom control over date, time, threshold, and analysis plane height |
| Daylight Autonomy (sDA preview) | Sample calculation for LEED v4 EQc7 opt1 (sDA & ASE), Reduced cost & calculation time |
| LEED 2009 IEQc8 opt1 | Automated settings for LEED 2009 IEQc8 opt1 settings |
| LEED v4 EQc7 opt1 | Automated settings for LEED v4 EQc7 opt1 (sDA & ASE) settings |
| LEED v4 EQc7 opt2 | Automated settings for LEED v4 EQc7 opt2 settings |
| Solar Access | Customizable hours of sun study |
B. Select which Levels you would like to visualize results for. Drop down the menu, and double click on your selection. To select multiple levels, hold down SHIFT, select the levels, then click outside of the drop down menu.
Note that Cloud Credit costs are tied to floor area included in the analysis. Learn more about Cloud Credit costs.
C. The Environment settings include Location and analysis time or range. The Location specified for the Revit project is what will be used for the analysis. The date and time settings are automatically populated for LEED analysis types, however if you select Illuminance Analysis or Solar Access, you have the ability control your settings.
D. Illuminance Settings are also automatically populated based on LEED criteria, but can be manually controlled for Illuminance Analysis and Solar Access studies.
E. Resolution includes two analysis grid sizes; a 72 inch grid and 12 inch grid and also drives cloud credit costs. For some analysis types, these grid sizes are preset and cannot be edited.
Note that Cloud Credit costs are tied to analysis resolution. Learn more about Cloud Credit costs.
F. Select Start Analysis to begin the simulation. Cloud credits will not be charged until the analysis is complete.
After selecting Start Analysis, the model geometry will be uploaded to the cloud rendering engine. Do not close the project or Revit during this process.
Once the model is successfully uploaded to the cloud and the project is saved, it is okay to close the project or continue working in Revit. Note that any changes you make to the model geometry or material settings will not be reflected in your analysis results, as the model has already been uploaded for analysis.
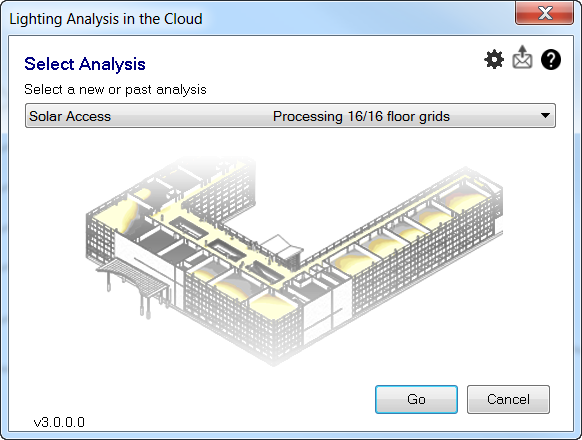
You can check the progress of the analysis by initiating the plugin again, and using the drop down menu to find in progress analyses.
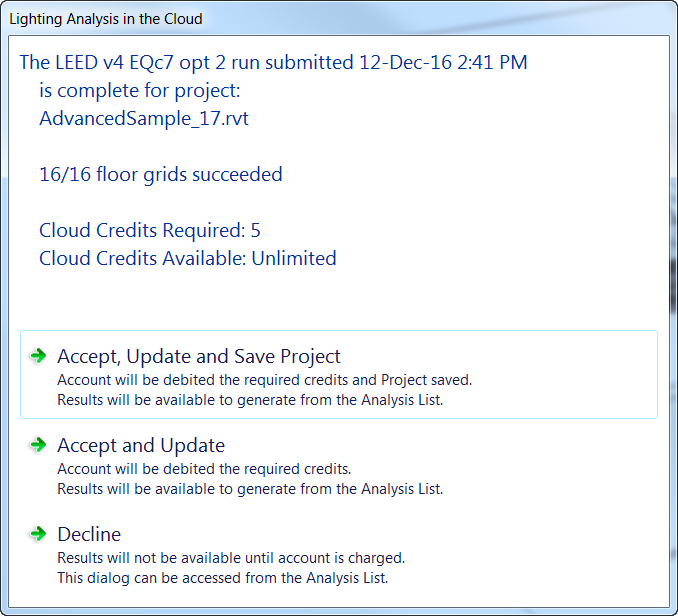
Revit will notify you once the results are ready. Accept or Decline the cloud credit charges at this point. It is recommended you also save the project after accepting the charges, so you will be able to recall the lighting analysis results after exiting Revit.
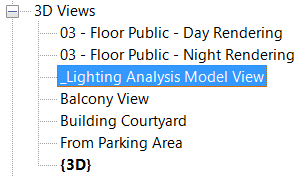
Open the _Lighting Analysis Model View under 3D Views (or any other 3D view). Note that any “_Lighting…” views are automatically created to easily access results in plan, 3D, and as a schedule. Analysis results will populate in whatever 3D view is currently active.
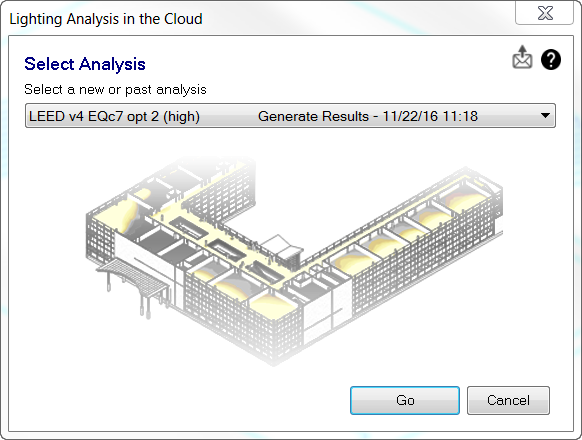
From the Insight 360 panel select Lighting to access your analysis results. This time, select the results for the analysis that has been completed and select Go.
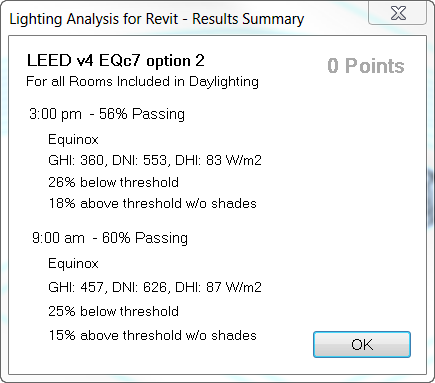
You’ll be prompted with a dialog box with a summary of your results. If you are doing a LEED type analysis, then the amount of achievable points will also be included.
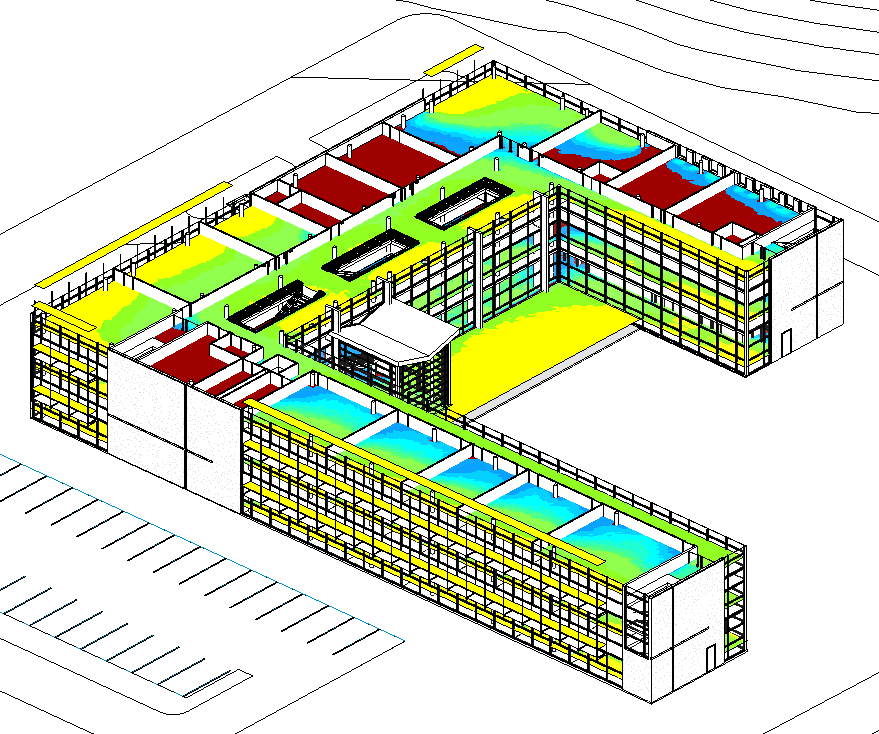
Use the Section Box to view the results in 3D or open the corresponding “_Lighting” floor plan.
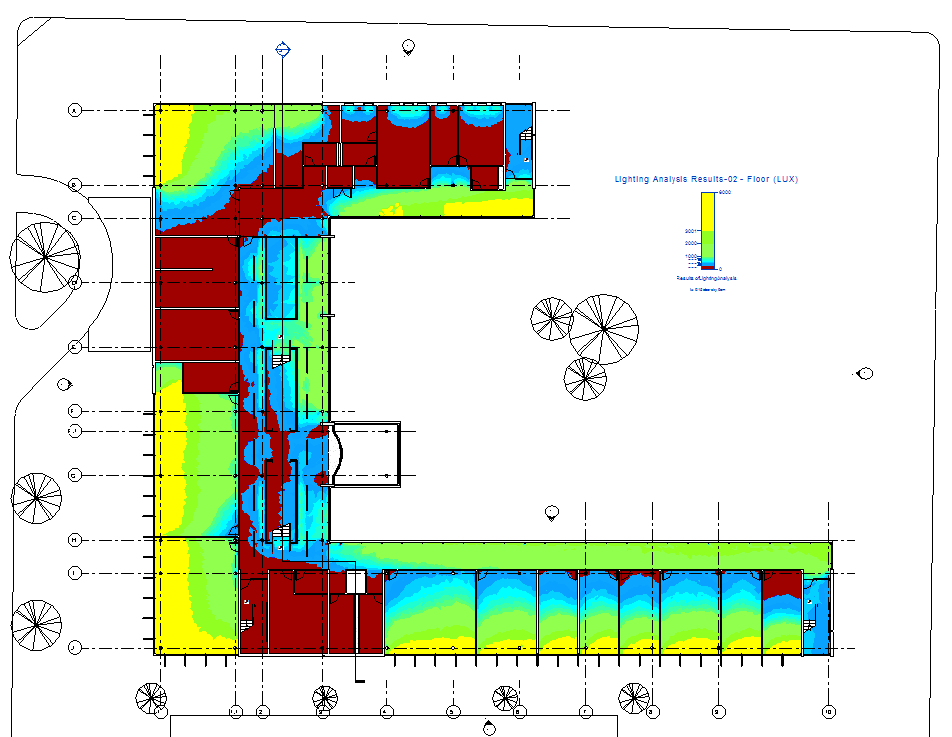
Note that “_Lighting” floor plans are only produced if rooms are placed for the levels.
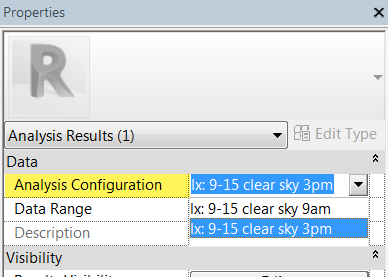
For analysis types that represent a single point in time, you can toggle between the two dates and times that were simulated by selecting the analysis plane, and changing the Analysis Configuration in the Properties panel.
Open _Lighting Analysis Room Schedule. If you define rooms, those rooms and corresponding analysis values will be populated here.
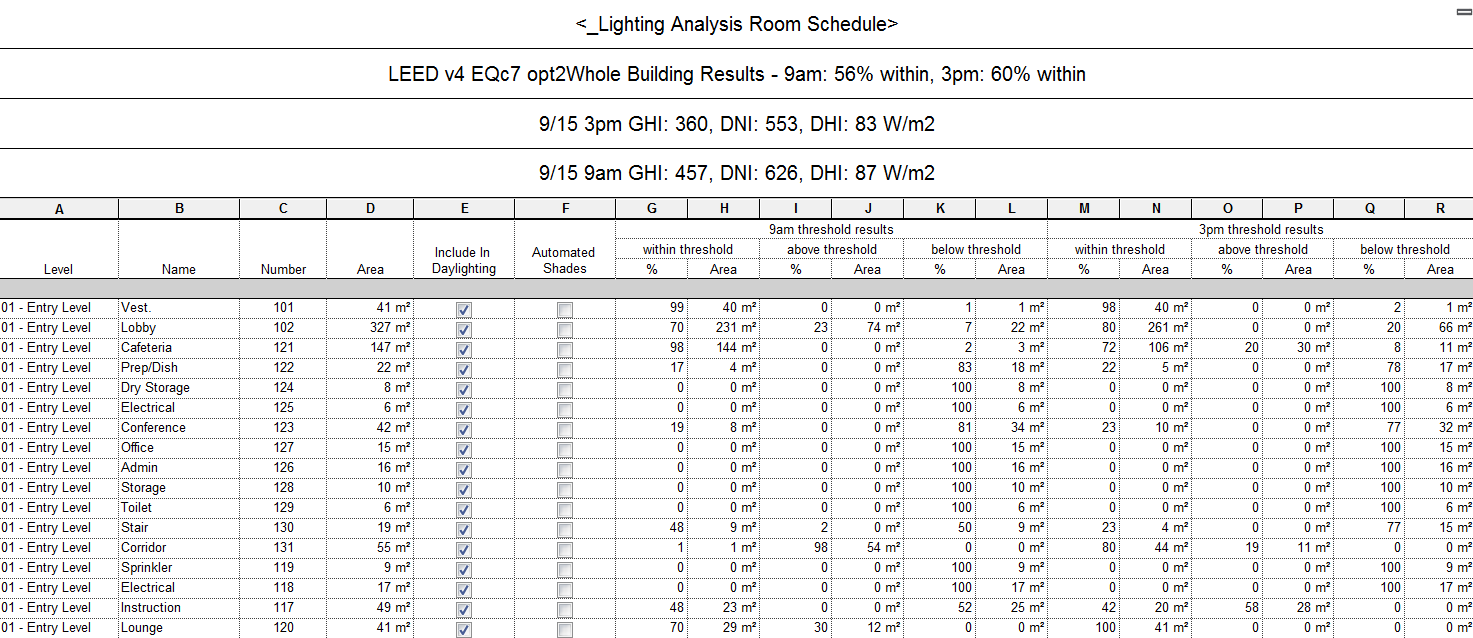
Any changes made in the schedule do not require you re-run the analysis. Simply select Lighting and access the study results to regenerate results considering the information updated in the schedule.