Opaque Materials
Material reflectivity is an important consideration for lighting analysis. It will dictate how much light bounces off the interior surfaces and further into the building. Material reflectivity is controlled by the RGB values in the Revit Material Browser. Follow the steps below to set material reflectivity for opaque surfaces.
Standard values for material reflectivity are listed below.
| Element | Reflectivity |
|---|---|
| Ceilings | 85% |
| Walls | 60% |
| Floors | 25% |
Download this worksheet to help quickly define RGB values for different reflectivity values.
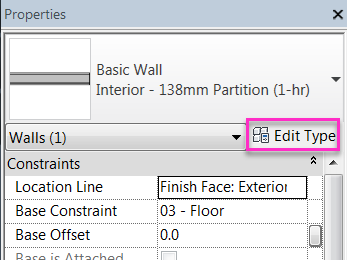
Select the Revit element that you want to edit. Select Edit Type from the Properties panel.
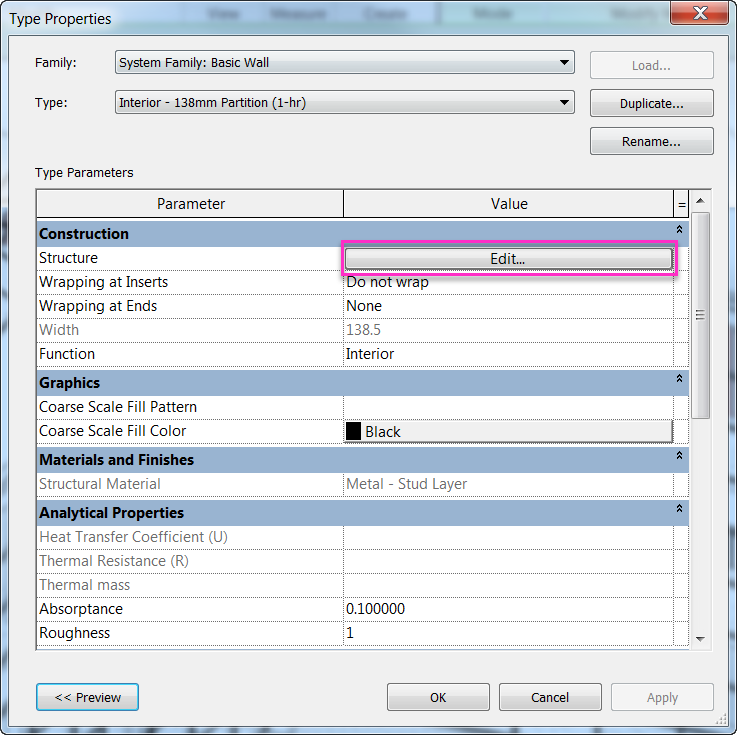
To change the properties associated with the materials that make up the element, Edit the Structure.
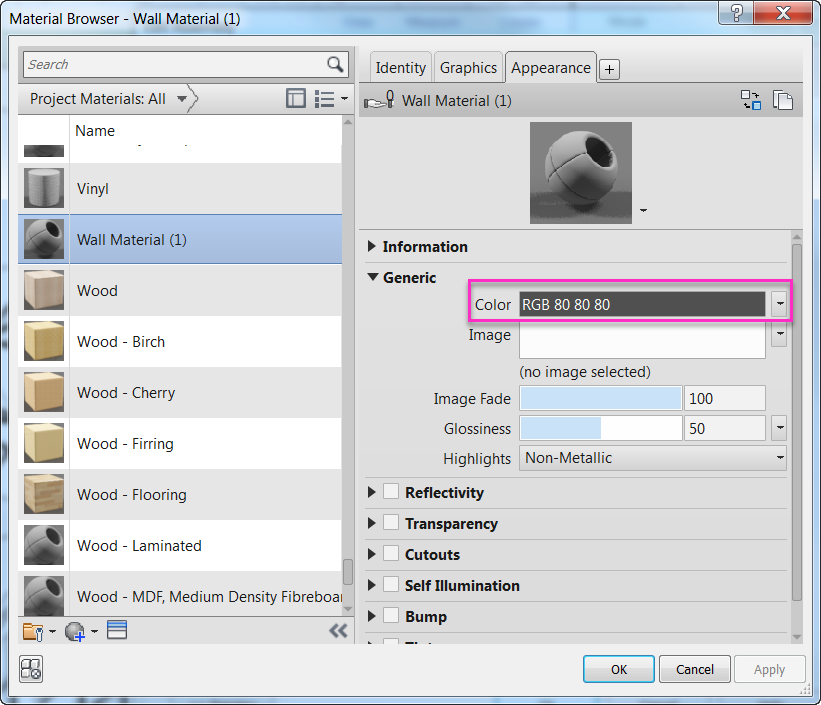
Select the interior face of the element. This will open the Material Browser.

In the Material Browser, open the Appearance tab. The Appearance tab is the only tab that affects the results for illuminance analyses.
In the Generic panel, editing the RGB values will control reflectivity for opaque finishes. If an image is selected for the Appearance, the average colors of the picture will determine the basic material reflectivity.
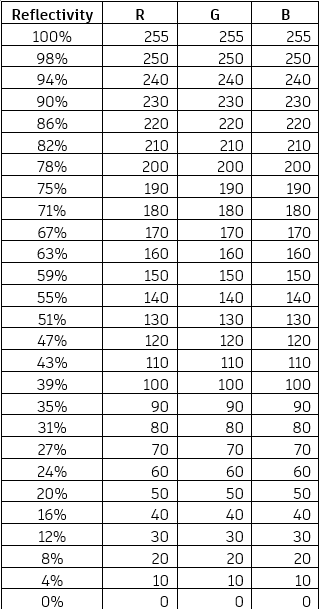
RGB values are based on the following formula:
$$ (0.2126R + 0.7152G + 0.0722B) / 255
$$
You can use the table below, or the worksheet available here to define RGB values for specific reflectivity values.
When all other attributes in the Appearance tab are unchecked, the material will have a matte finish and only diffuse reflectivity (it will not be “shiny”). You can simulate shiny, or specular, materials by checking Reflectivity and changing the settings.
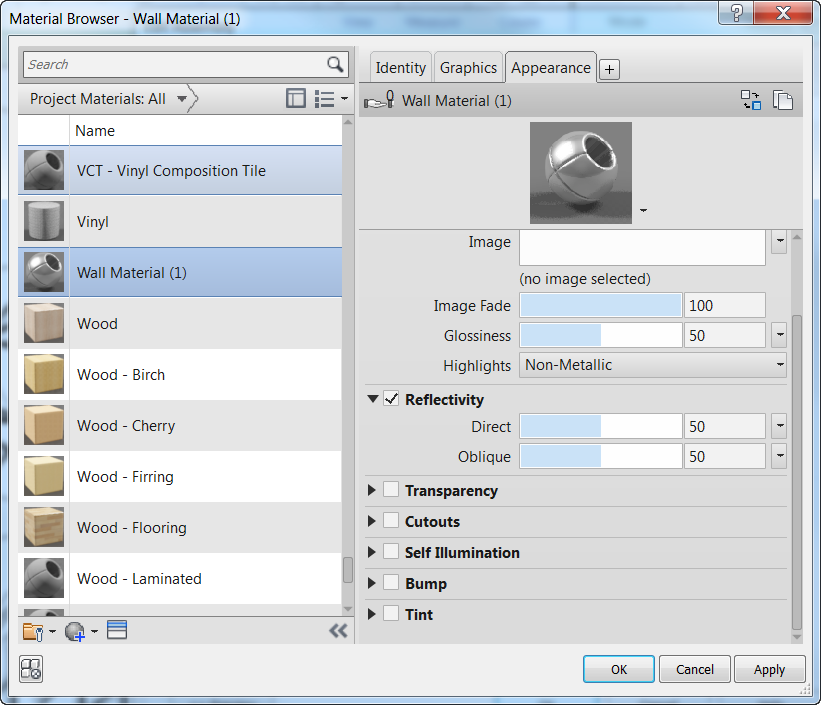
All other categories in the Appearance tab (Transparency, Cutouts, Self Illumination, Bump, and Tint) define surface appearance properties. These will affect overall light reflectivity.