Custom
You can use Insight Solar Analysis to create your own custom analysis types, specifying your own date and time range, surface selection, and result types, and visualization style.
To create these study, follow the steps outlined in the Overview and take note of the following.
When selecting the Custom study type, you’ll want to define additional settings.

A. For the Surface, you can select any of the existing settings from the drop down.
| Surface Selection | Description |
|---|---|
| All Roof Exterior Surfaces | When selected for a model with building elements, this option automatically selects all Roof elements |
| All Mass Surfaces | When selected for a model with conceptual masses, this option automatically selects all mass faces |
| user selection | This option allows you to select your own mass and building element surfaces for analysis |
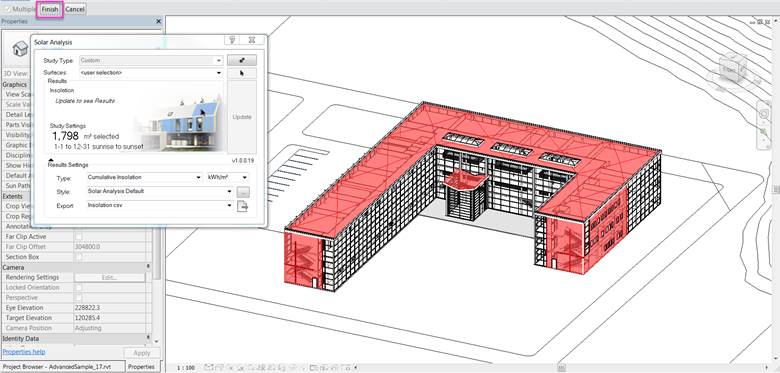
If selecting your own surfaces (user selection), set the drop down, then the arrow icon to the right.
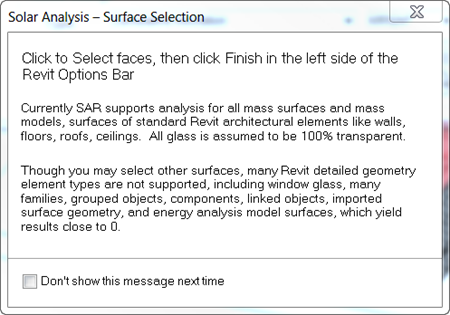
This will prompt a dialog that explains how Insight Solar Analysis with Revit interprets material settings for analysis. Read more about this in the Material Settings section.
Close the dialog to continue. Select the surfaces in your Revit model that you would like to produce analysis results for, then select Finish in the top left of the Revit ribbon. This will close the surface selection process.
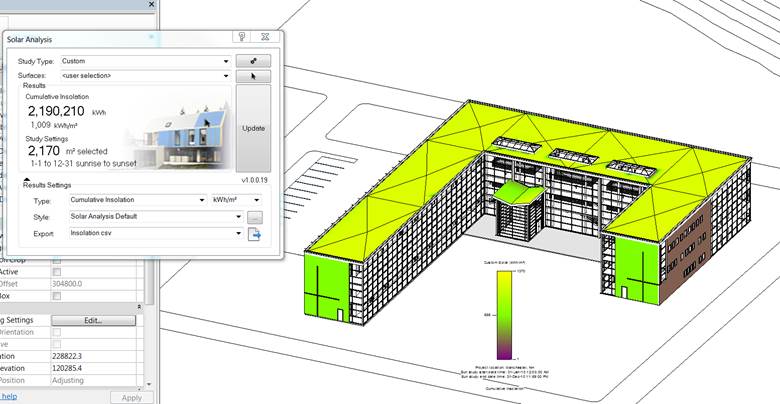
B. Set the results Type and Units.
C. By default, the Solar Analysis Default visualization Style will be selected. You can change this by dropping down the menu and selecting a different analysis style, or creating your own.
Select Update once all the settings are defined, and results will appear in your 3D view and the Results summary panel.